Modifiers
Blur
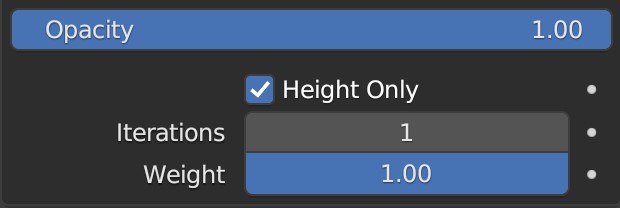
Geometry Blur Modifier UI
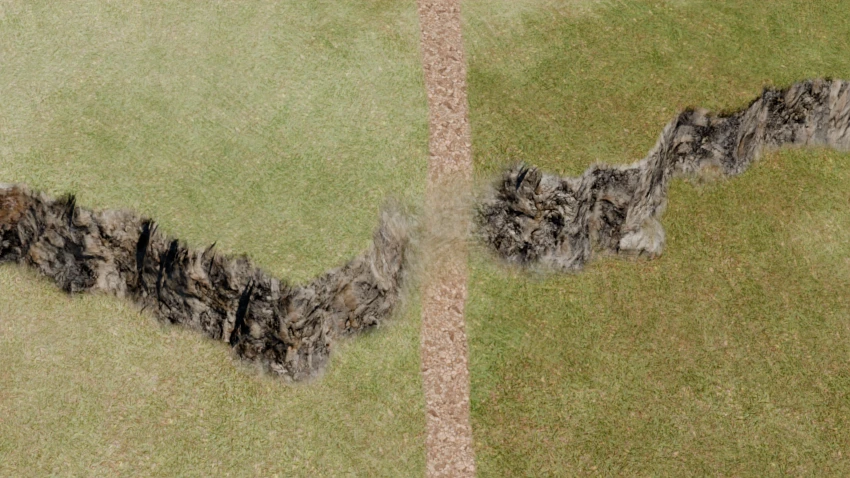
Opacity
Impact amount on the modifier's final output
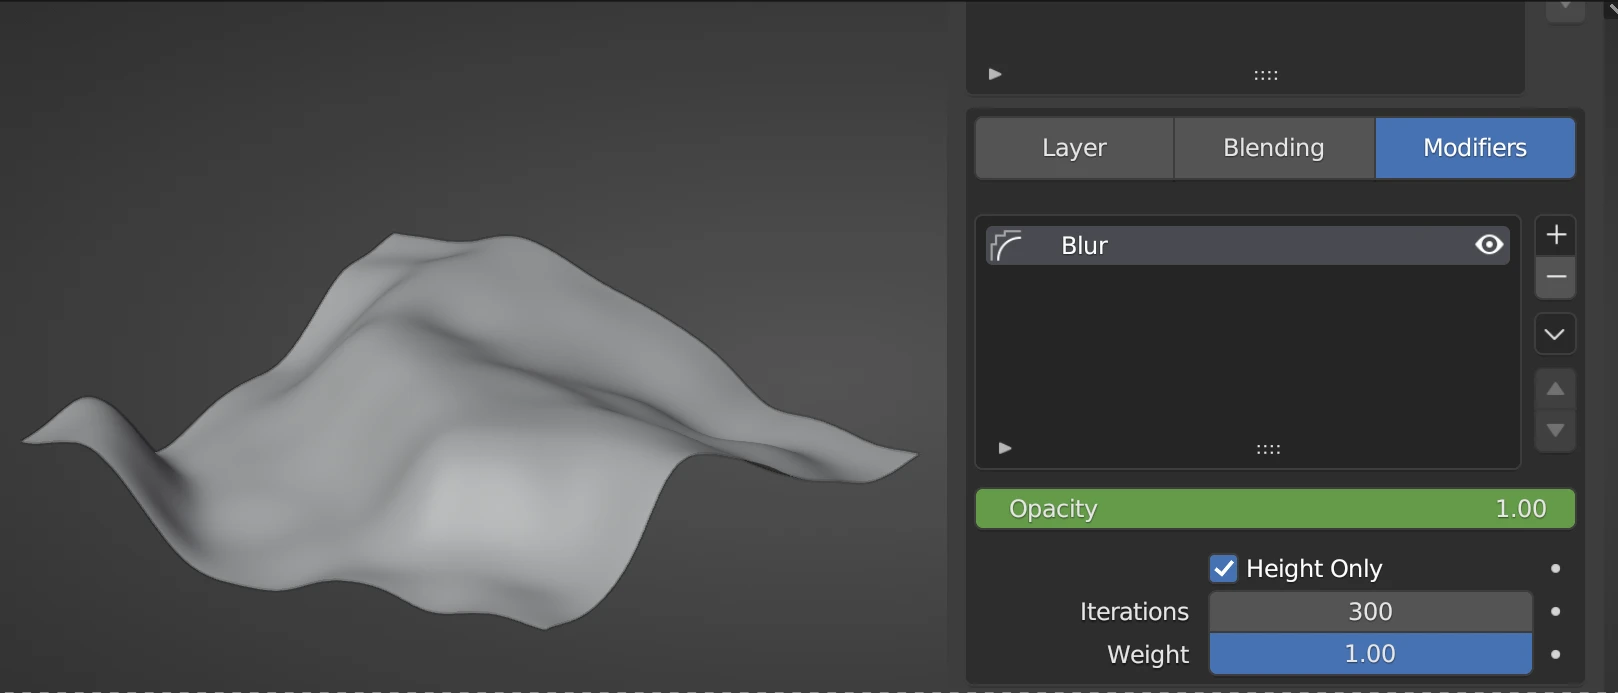
Blur Opacity Example
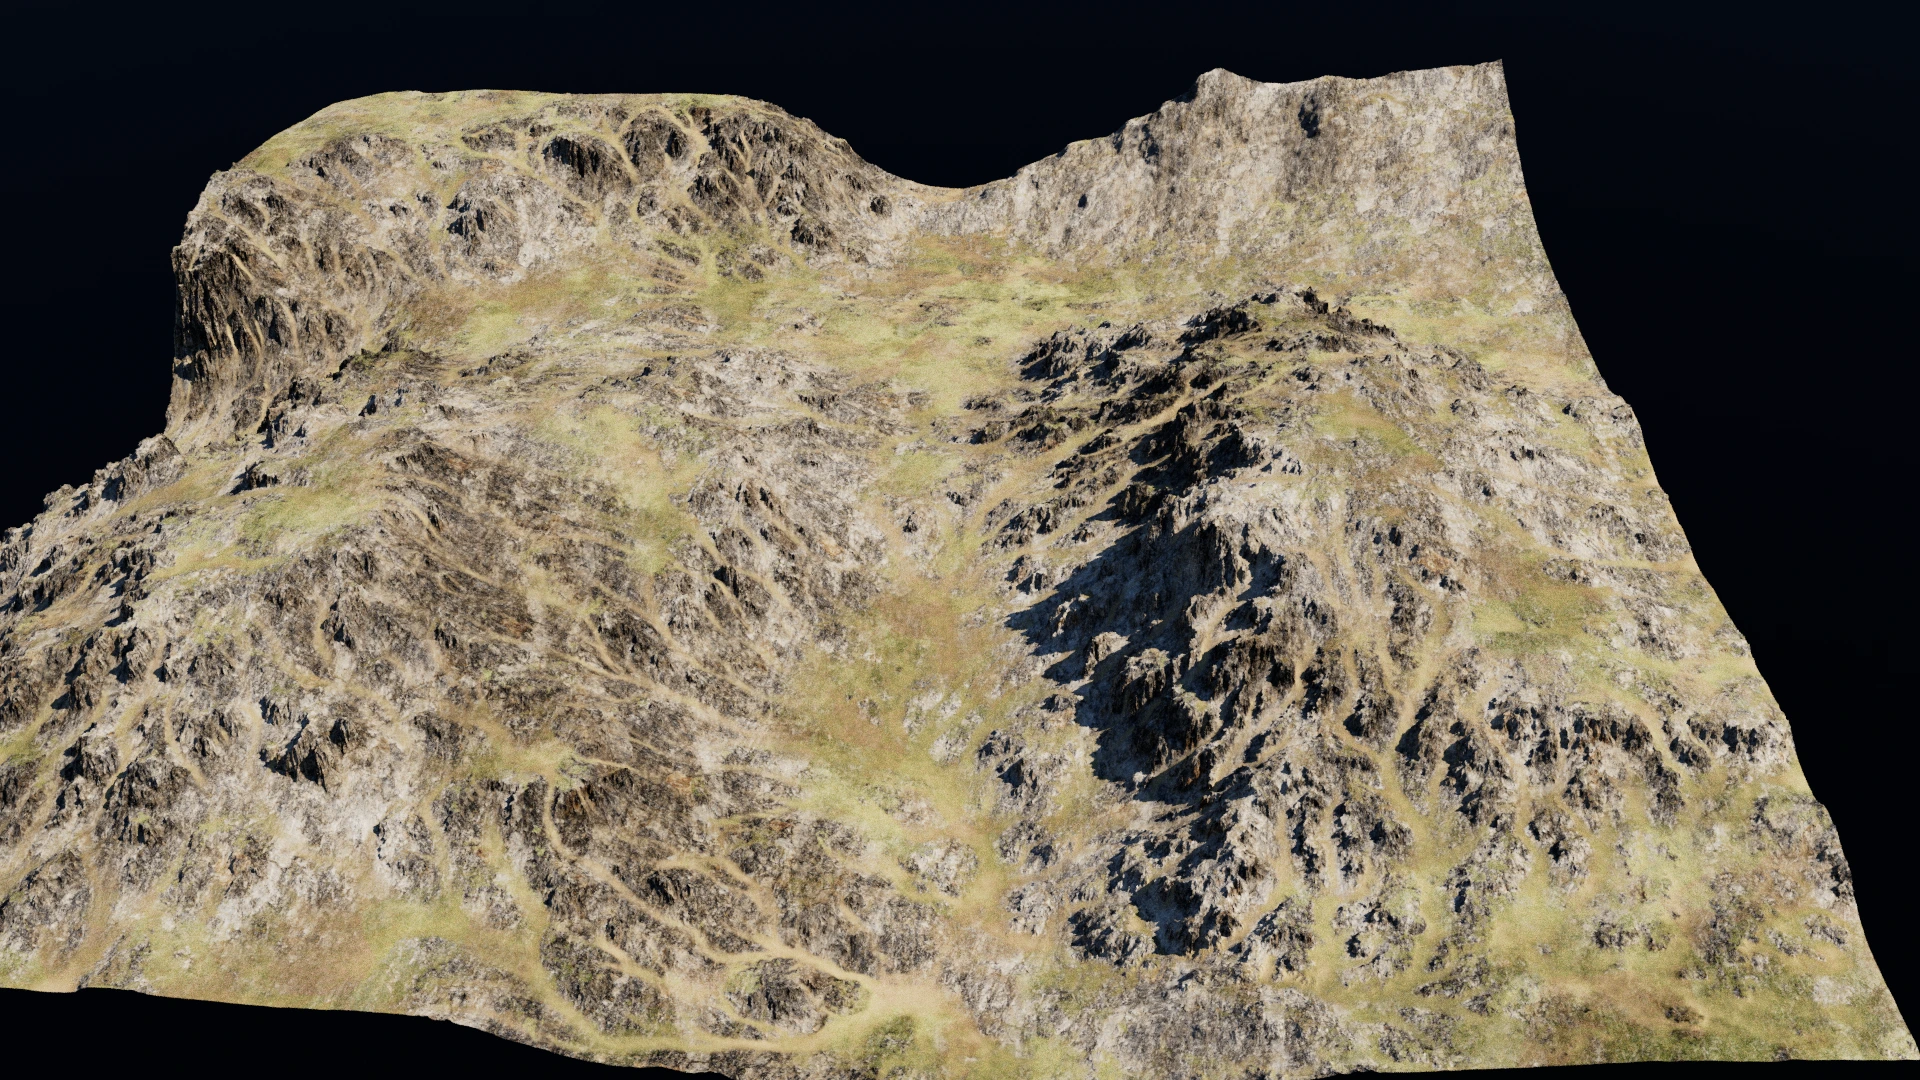
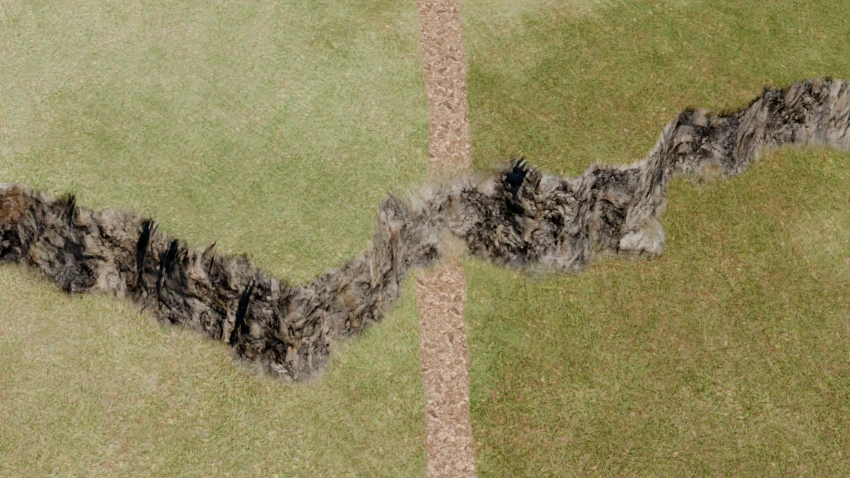
Iterations
Number of repetitions of mixing value with neighbors.
Blur Iterations Example
Weight
Effectively the blur factor
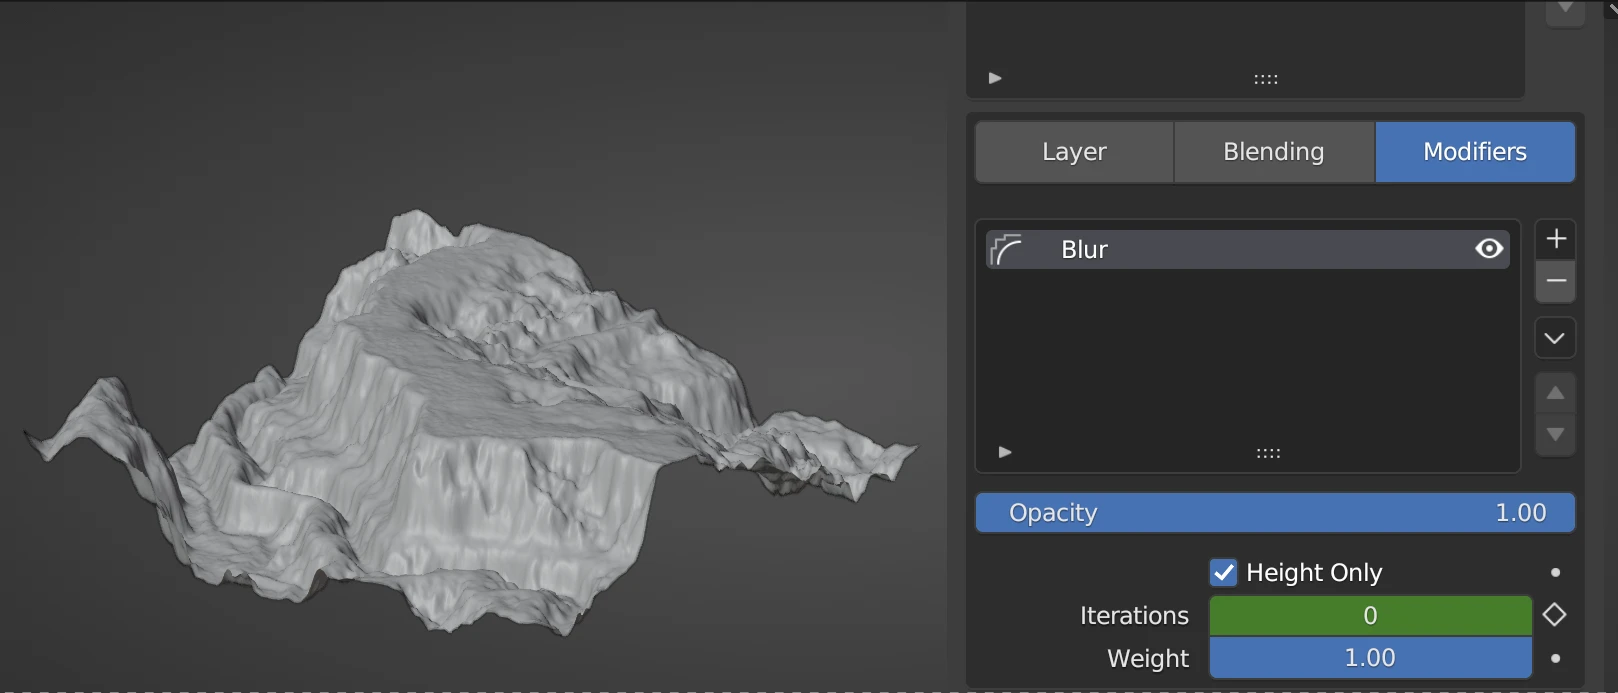
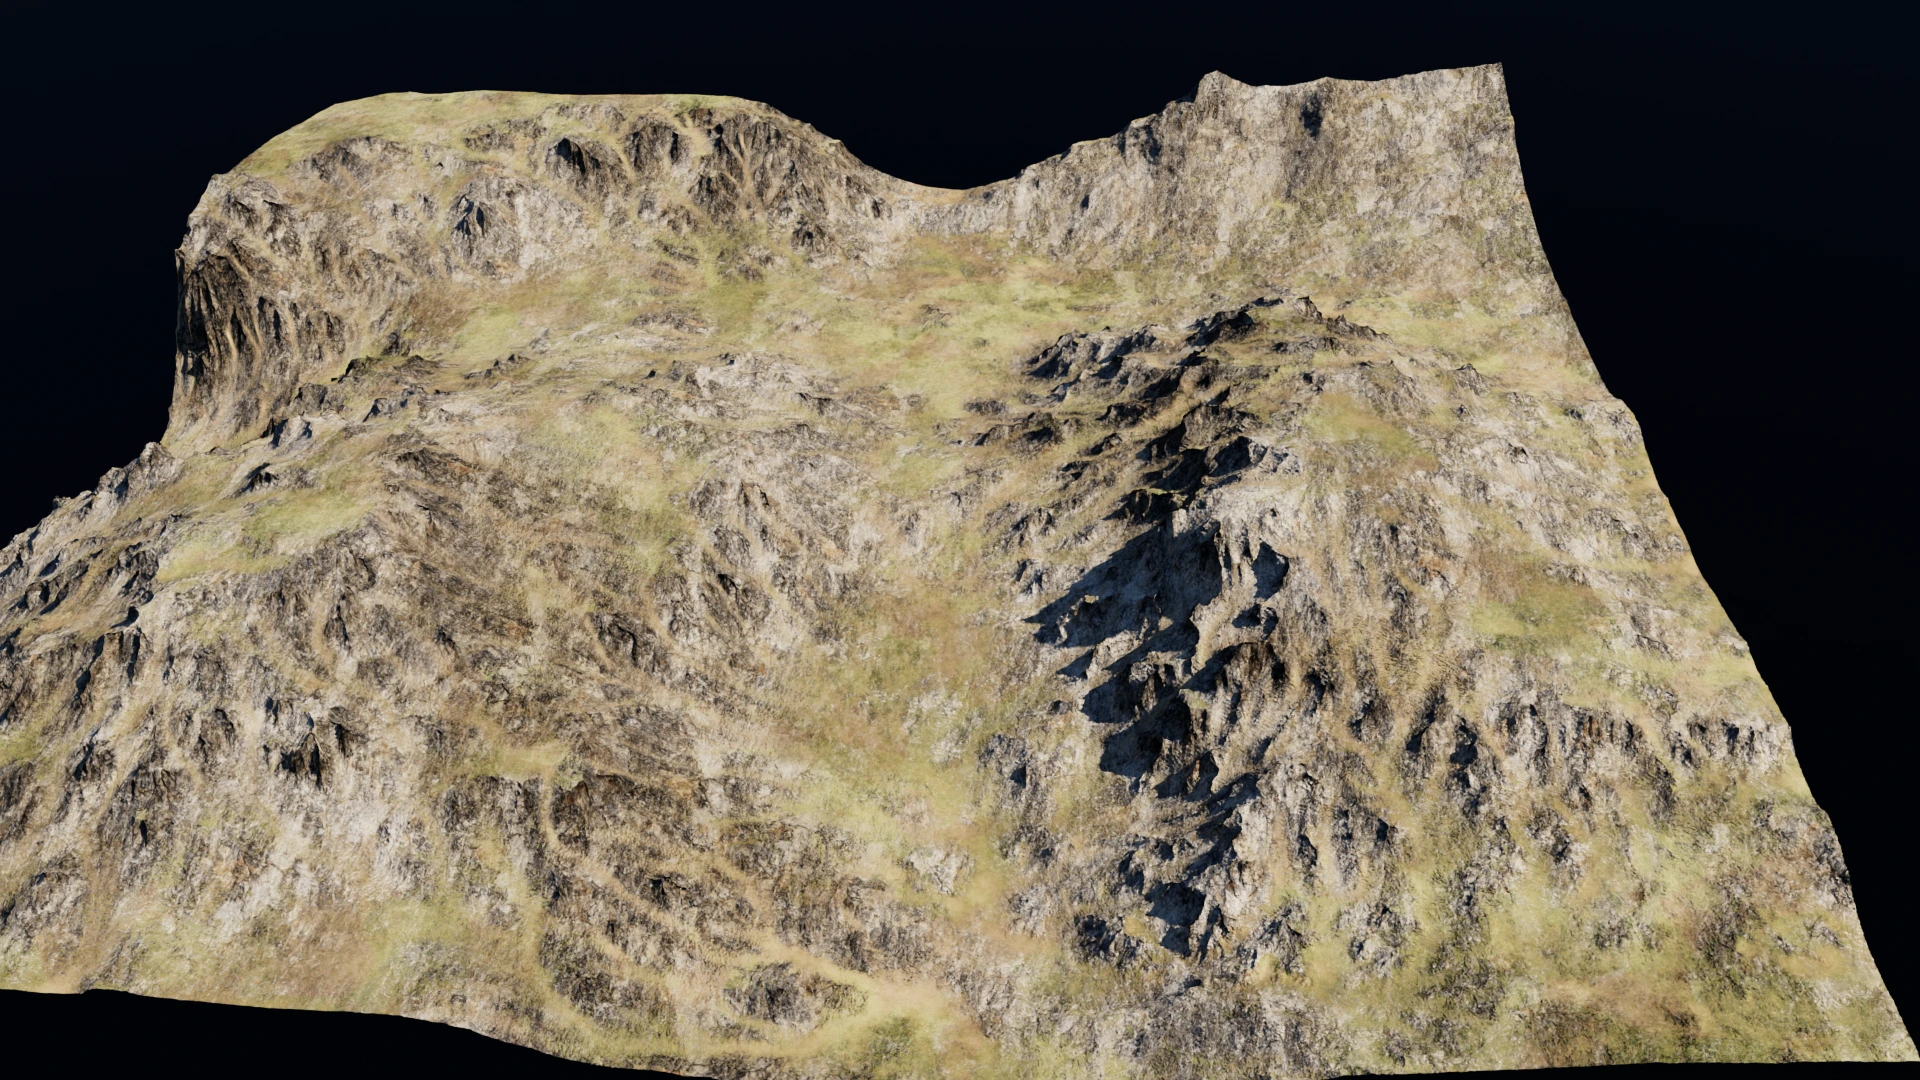
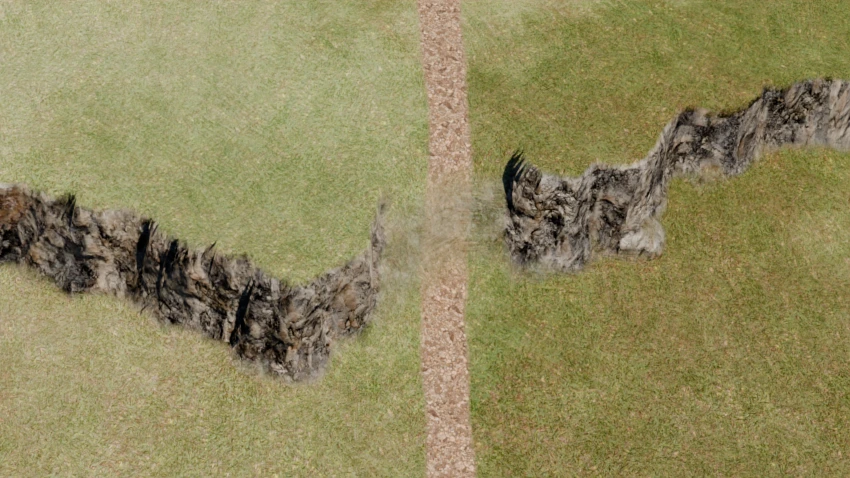
Height Only
Only blur the Z axis

Blur Iterations with Height Only Disabled
Curve
If the height anchor for the terrain is set to anything other than None the terrain will most likely not meet up with the curve.
Curve Object
The curve object to use with this modifier
Add Curve
Create a new curve, set it as the active on on the modifier, enter edit mode for the curve, set Blender's Draw Curve tool to be the active tool in the viewport for quick adding of curves.
Note
The height of the curve while drawing is set by the 3D Cursor by default.
Info
Pressing Enter will exit the mode while pressing Esc or Right-Click will exit this mode and remove the curve(s).
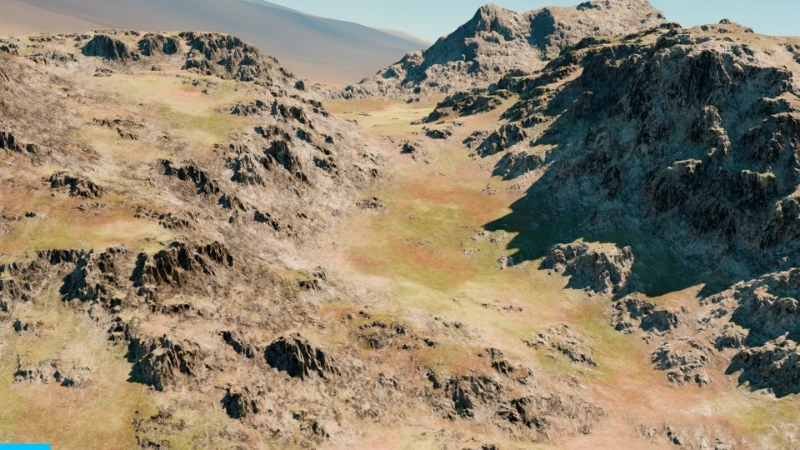
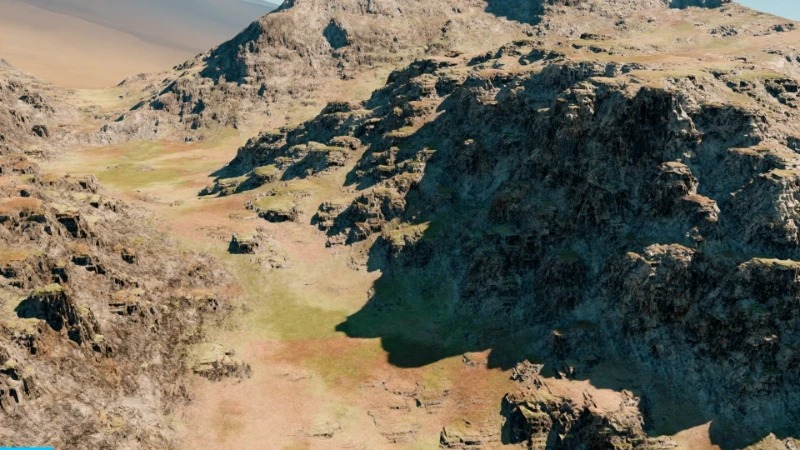
Valley Width
Vary the width of the valley floor.
Cliff Slope
Vary the steepness of the valley's walls.
Orginal Details
Add back in the details from before the modifier was applied.
Valley Shape
Similar to falloff easing choose the shape of the valley's walls
See Easing Functions for more information.
Smoothing
Curve Resolution
Artificially vary the resolution to remove lines.
Smooth Extra
Smooth out the valley even more if lines are still there after maxing out Curve Resolution.
Randomize
This is a different type of randomize than the others since it's a long path.
Smooth
Blur noise result to remove sharp edges as a result of the noise.
Amount
The intensity of the noise.
Scale
How close together the randomness of the noise is
Detail
Vary the detail level
Distortion
Amount of distortion.
Seed
Randomize the noise.
Dilate / Erode
Not compatible with Adaptive Subdivision grid type
Effect Type: Dilate
Effect Type: Erode
Iterations
The amount of times to repeat the process. Higher iterations will result in a stronger effect but will also increase the processing time.
| Dilate | Erode |
|---|---|
 |
 |
| 0 - 60 iterations | 0 - 60 iterations |
Noise Amount
Add noise to the dilation/erosion effect to create a more natural and less uniform result.
Flatten Area
Choose an area to create a flat(ter) surface to put landmarks, houses, cities, or just to modifier the terrain to your use.
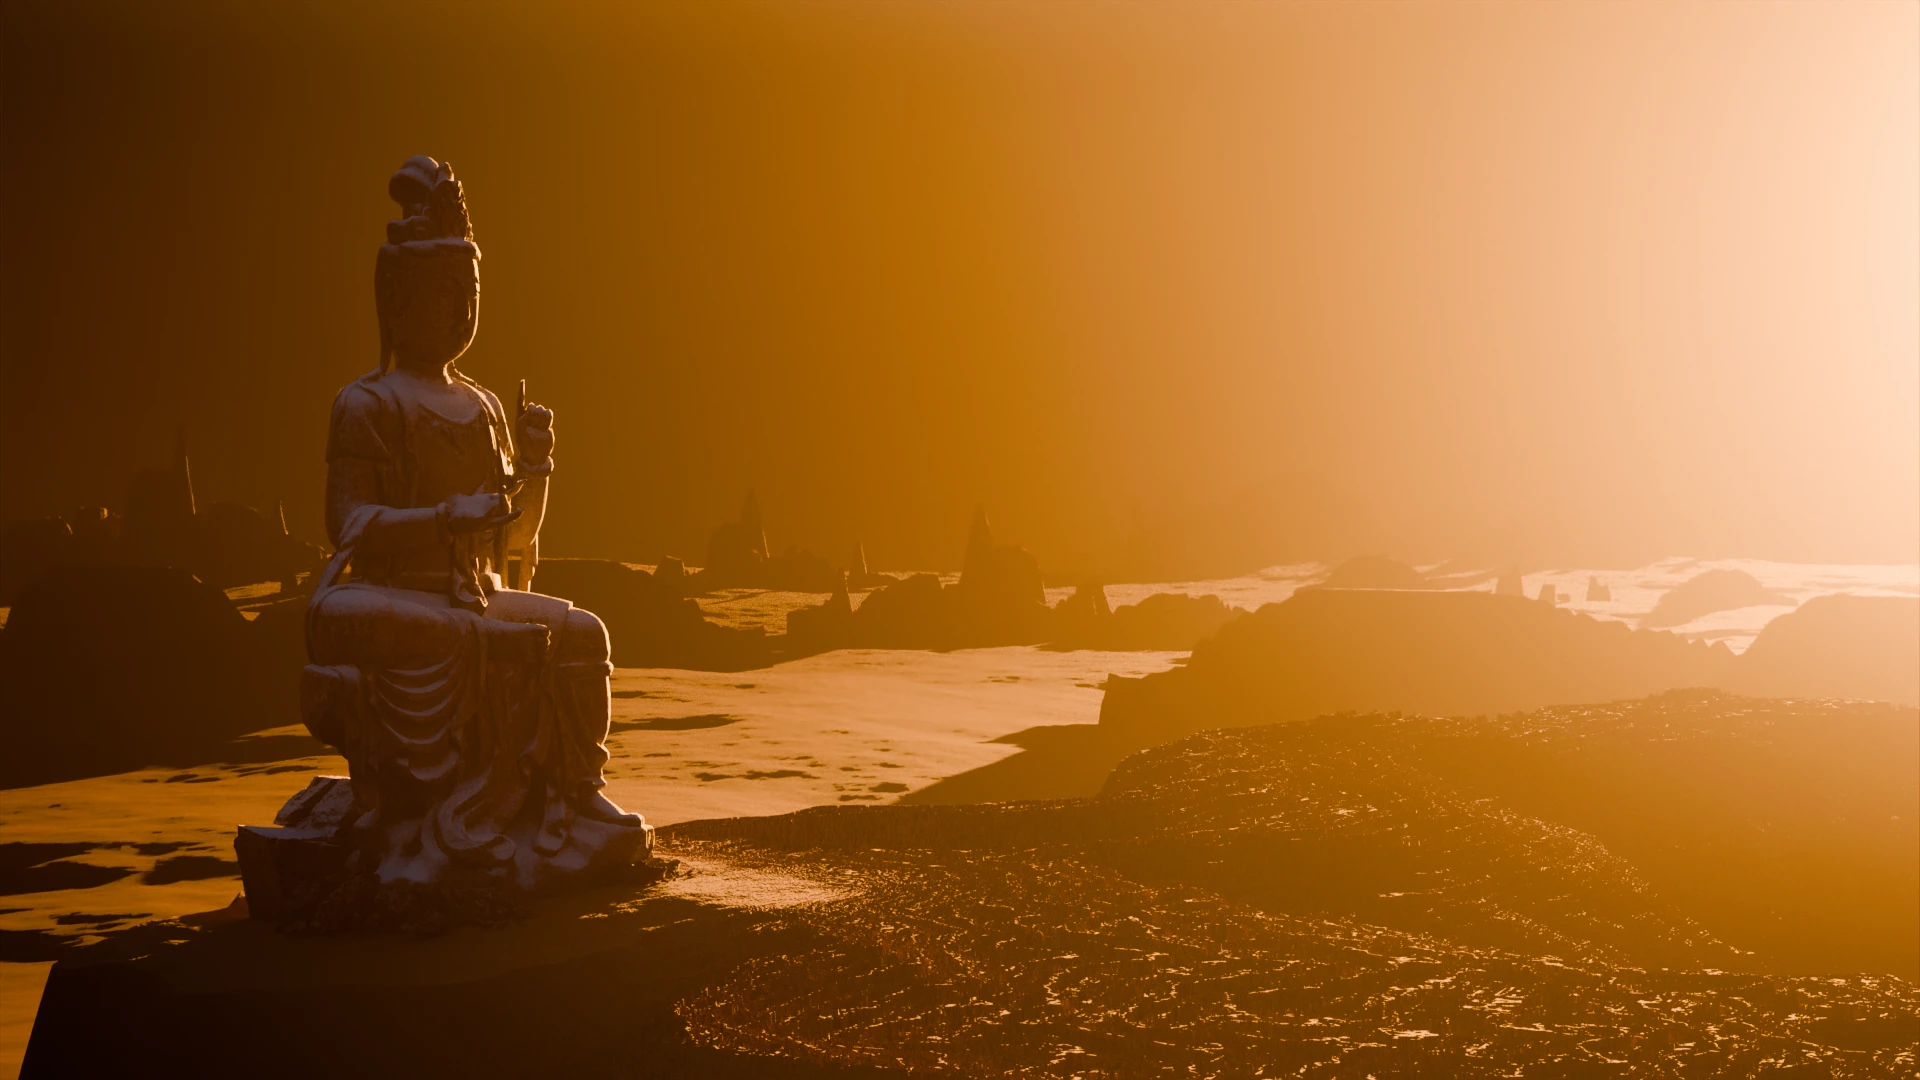
Here the Flatten Area modifier is used to extend the top surface out for the statue. Please someone create a better example image.
Location Type
- Location: Set the location manually where the terrain should be flat
- Object: Let an object's location decide where the terrian should be flattened
Note
Regardless of Location Type the Z axis will decide the height of the flattened area either what is set in the Location setting or the Z axis of the object
Radius
How far away from the location to flatten the terrain.
Invert
Flatten everything outside the radius instead.
Height Offset
Offset the flattened area's height from the Location Type.
Info
Only visible if Use Object Height is disabled
Use Object Height
Use an object to set the height value.
Offset Object
The object to use as the height of the flattened area.
Info
Only visible if Use Object Height is enabled
Falloff
Distance outside of the radius to fade out the flattening effect.
Easing
Choose a different method to falloff. See the Easing Functions for more information.
Randomize
Add noise to the Radius to have a more organic border to the flattened area.
See the Randomize Settings for more information.
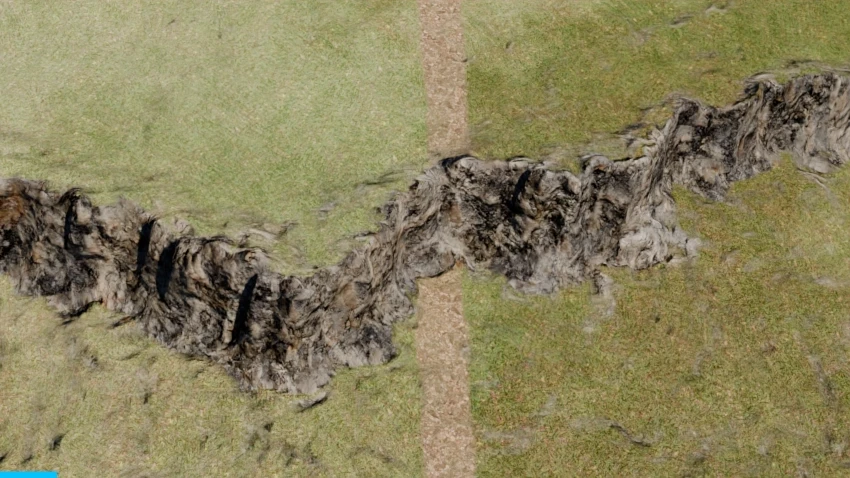
Terracing
Terracing modifier example.
Send in a better example image of terracing to be featured here!
Cliff Heights
Distance between each terraced cliff.
Surface Width
Increase/decrease the flat surface area.
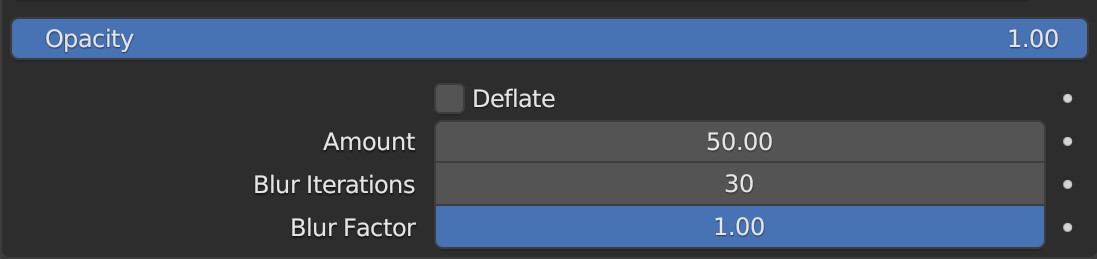
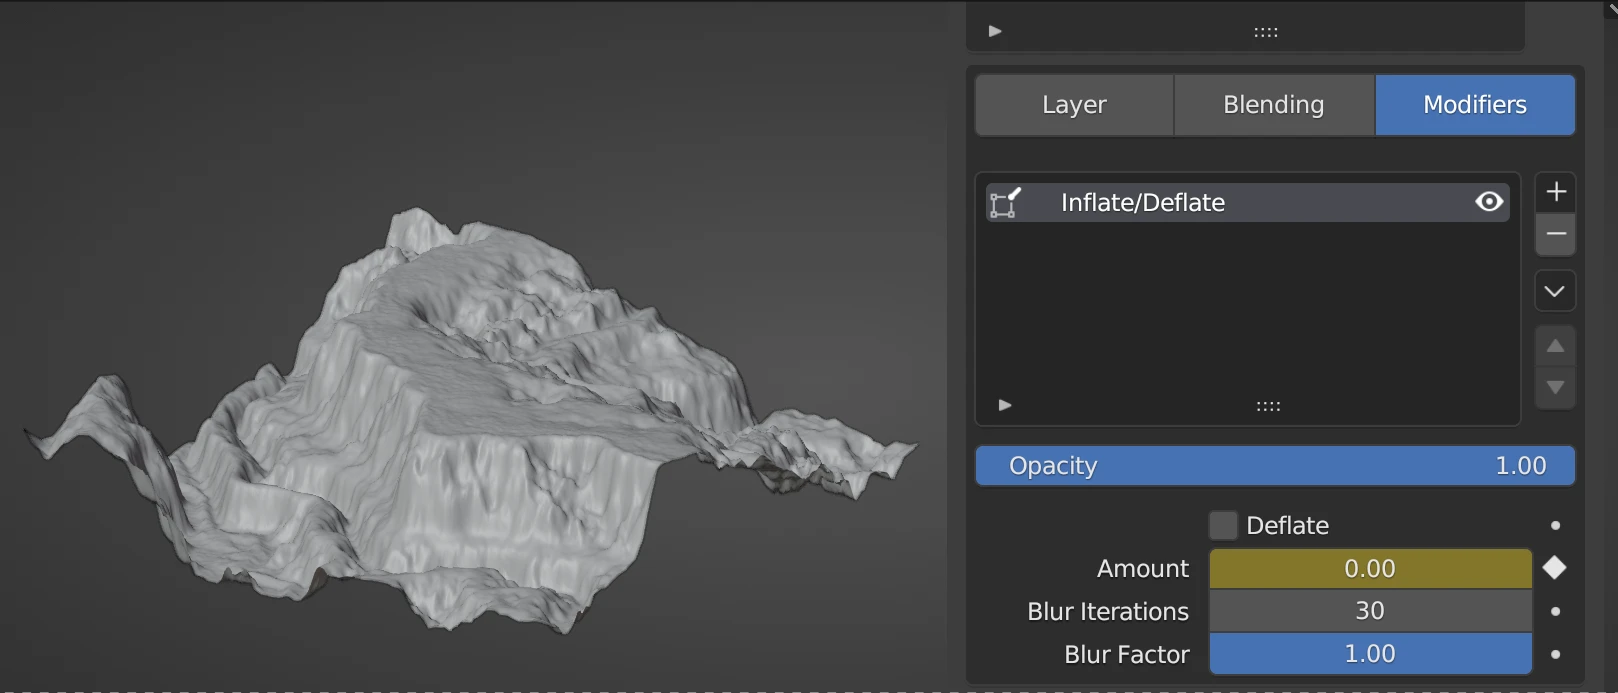
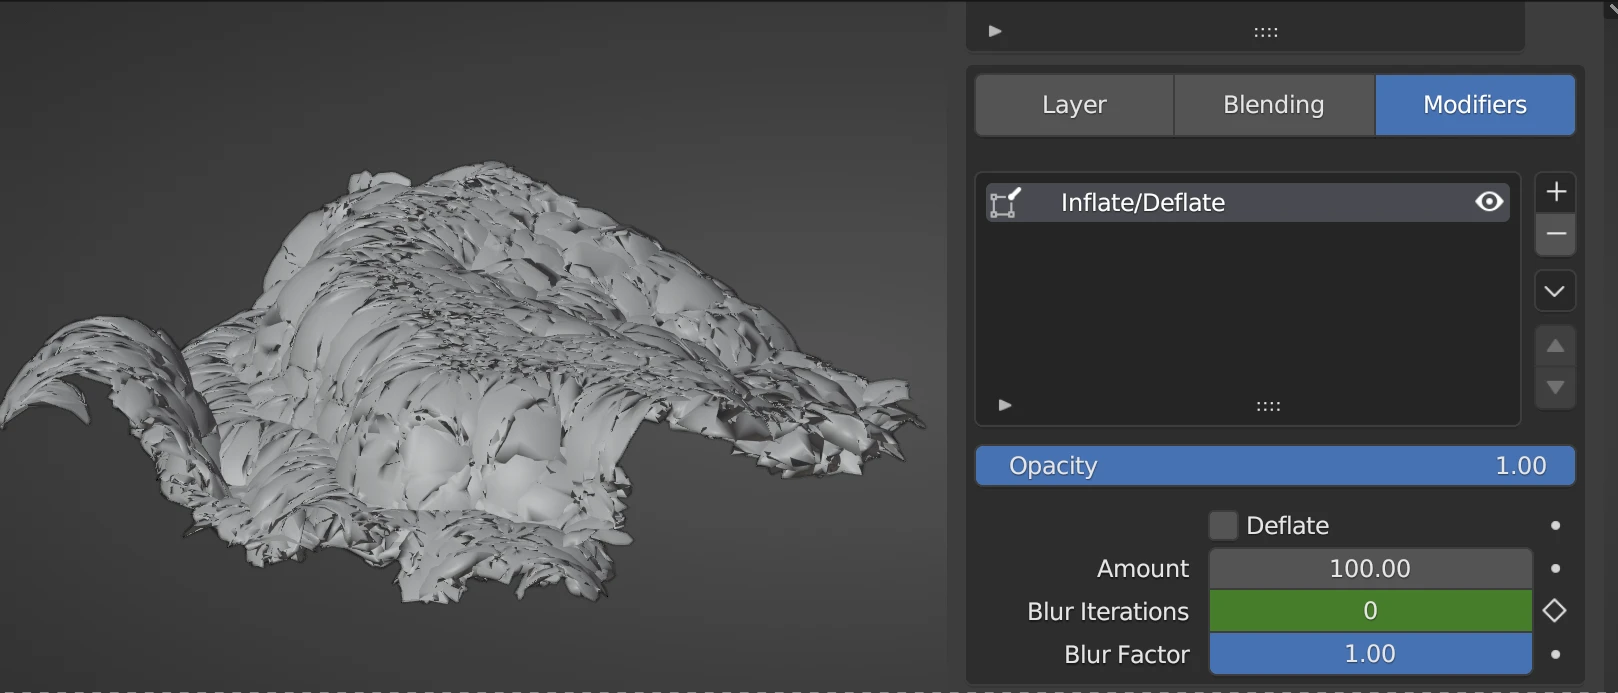
Inflate/Deflate
Geometry Inflate/Defalte Modifier UI
Opacity
The amount this modifier is applied
Amount
Home much to inflate/deflate the terrain
Inflate Amount Example
Deflate
Invert the effect. Helpful to sharpen the details of the terrain.

Deflate Amount Example
Blur Iterations
The amount of times to blur the inflate/deflate effect
Blur Iterations Example
Blur Factor
Reduce the blur amount
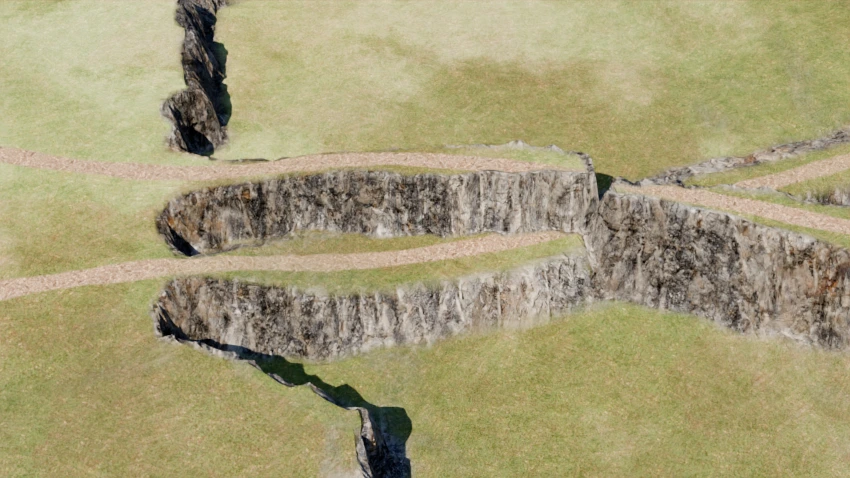
Path
Curve
The curve object to use for the path modifier.
Add Curve
Click to draw a curve in the viewport to use for the path modifier. Pressing Enter will exit the mode while pressing Esc or Right-Click will exit this mode and remove the curve(s).
Width
How wide the path should be.
See Randomize Settings for more information on the randomize width settings.
Path Type
How the path should be applied to the terrain.
- Deform: Deform the terrain up or down to match the curve.
- Follow: The terrain will follow the path but not be deformed to match it, like a dirt path.
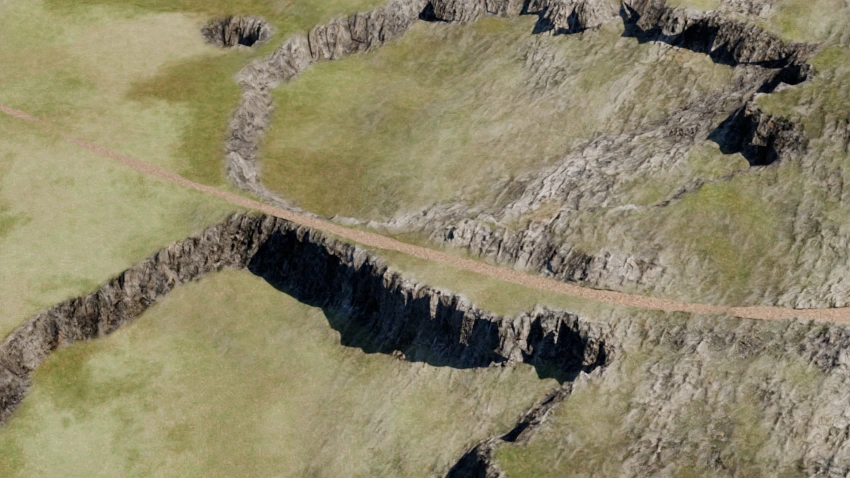
Path Type: Deform

Raise or lower the terrain to match the curve. This is good for creating things like roads or land bridges that are sunken into the terrain or traverse valleys.
Intersection Height Method
When curves intersect with each other or themselves, this setting will determine how the height of the intersection is calculated.
Minimum
Choose the lowest height at the intersection.
Average
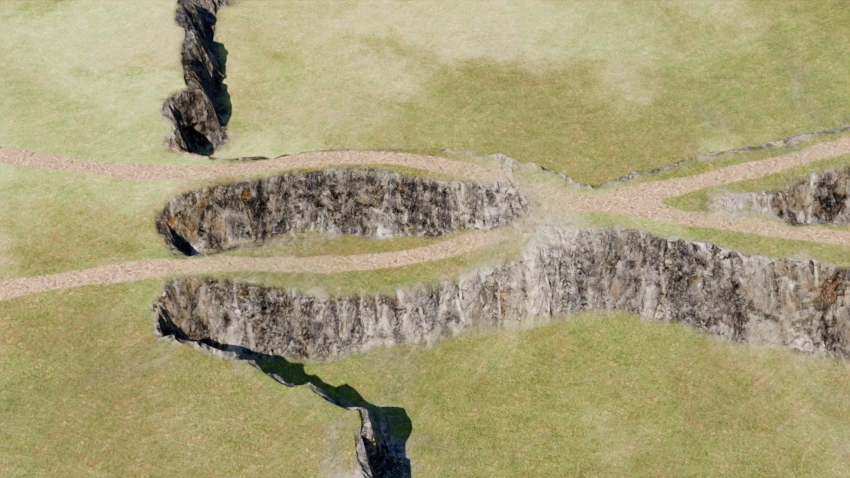
Choose the average height at the intersection.
Maximum
Choose the maximum height at the intersection.
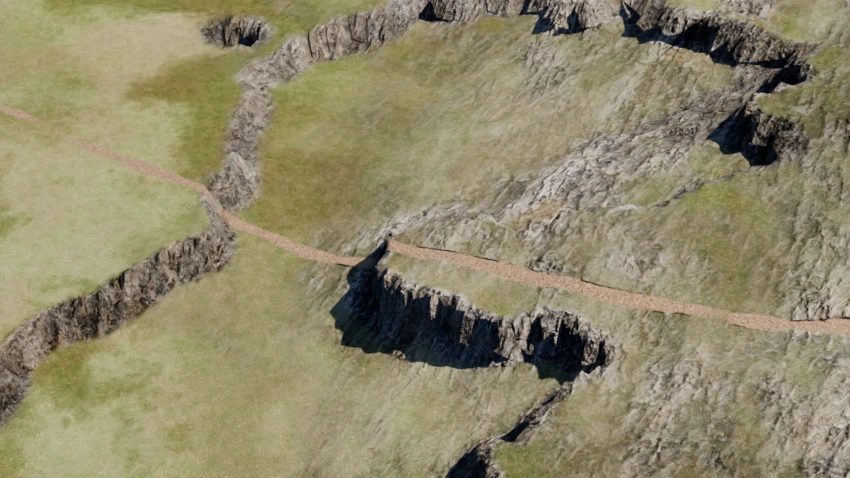
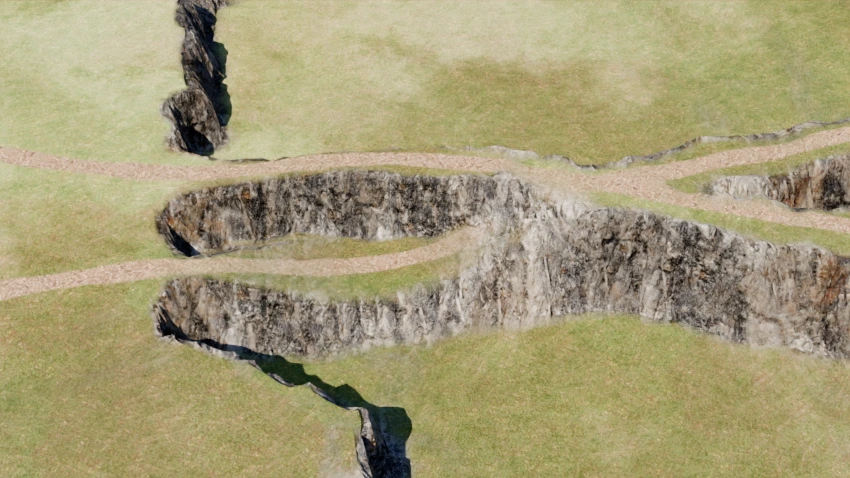
Apply Paths Mode
Lower Only

Only lower the terrain to match the curve. This is good for creating things like roads or land bridges that are sunken into the terrain. Any sort of "bridge" for the path will need to be created otherwise.
Conform
Both lower and raise the terrain to match the curve. This is good for creating things like roads or land bridges that are traversing valleys or hills.
Raise Only
Only raise the terrain to match the curve. This is good for creating things like roads or land bridges that are traversing valleys or hills. Any sort of "bridge" for the path will need to be created otherwise.
Falloff
Vary the distance outside of the path's width to fade out the effect.
Split Falloff
Split the falloff into two separate values to have more control over the falloff on places where the terrain is higher than the curve and lower than the curve.
Falloff - Cliff
The distance outside of the path's width to fade out the effect when the terrain is higher than the curve. This is good for creating sharper cliffs on the edges of paths.
Falloff - Downhill
The distance outside of the path's width to fade out the effect when the terrain is lower than the curve. This is good for creating smoother falloffs on the edges of paths.
Handle Intersections
Enable or Disable special handling for curve intersections. When enabled, the terrain will be modified to meet up with itself at the intersection. When disabled, the terrain will raise or lower according to the closest point on the curve.
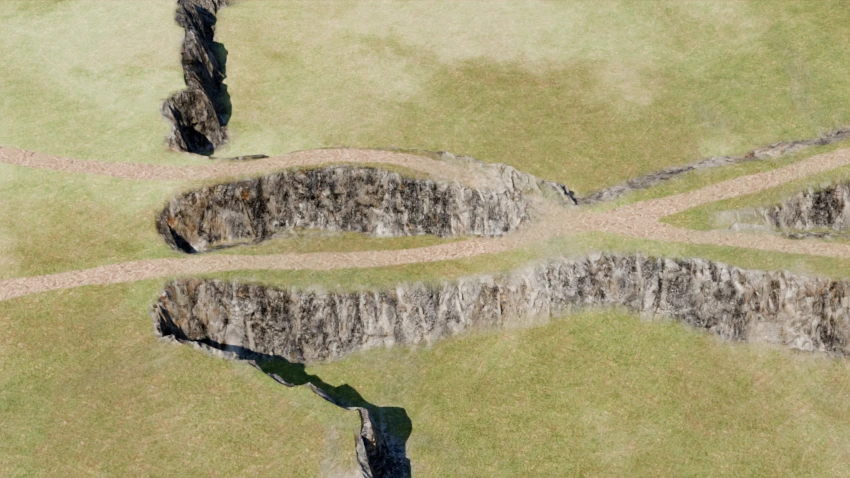
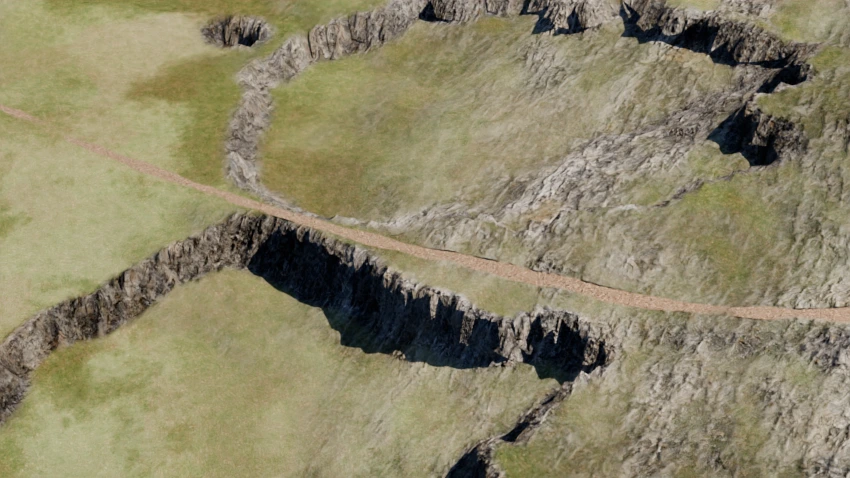
Path Type: Folow
A path that smooths the terrain without raising or lowering it. This is good for creating things like dirt paths or trails that follow the terrain.
Ignore Heights
When enabled, the terrain will be smoothed to follow the curve regardless of how far above or below the curve the terrain is. Useful if you do not care if the path does not bridge over valleys or hills and just want a path that follows the terrain.
More Defined Edges
Ignore Heights is enabled in both images.
When enabled, the edges of the path will be more defined and less smooth. This is good for creating things like dirt paths or trails that follow the terrain but still have a bit of definition to them.
Smooth Amount
From 0.0 to 1.0
The amount to smooth the terrain around the curve.